One week to go, friends, and I do believe we are going to make it.
Today we are chatting all about doors. While that may not sound super exciting it has been an aspect of this project I have been so looking forward to since the beginning because I just knew it was going to make a huge difference.
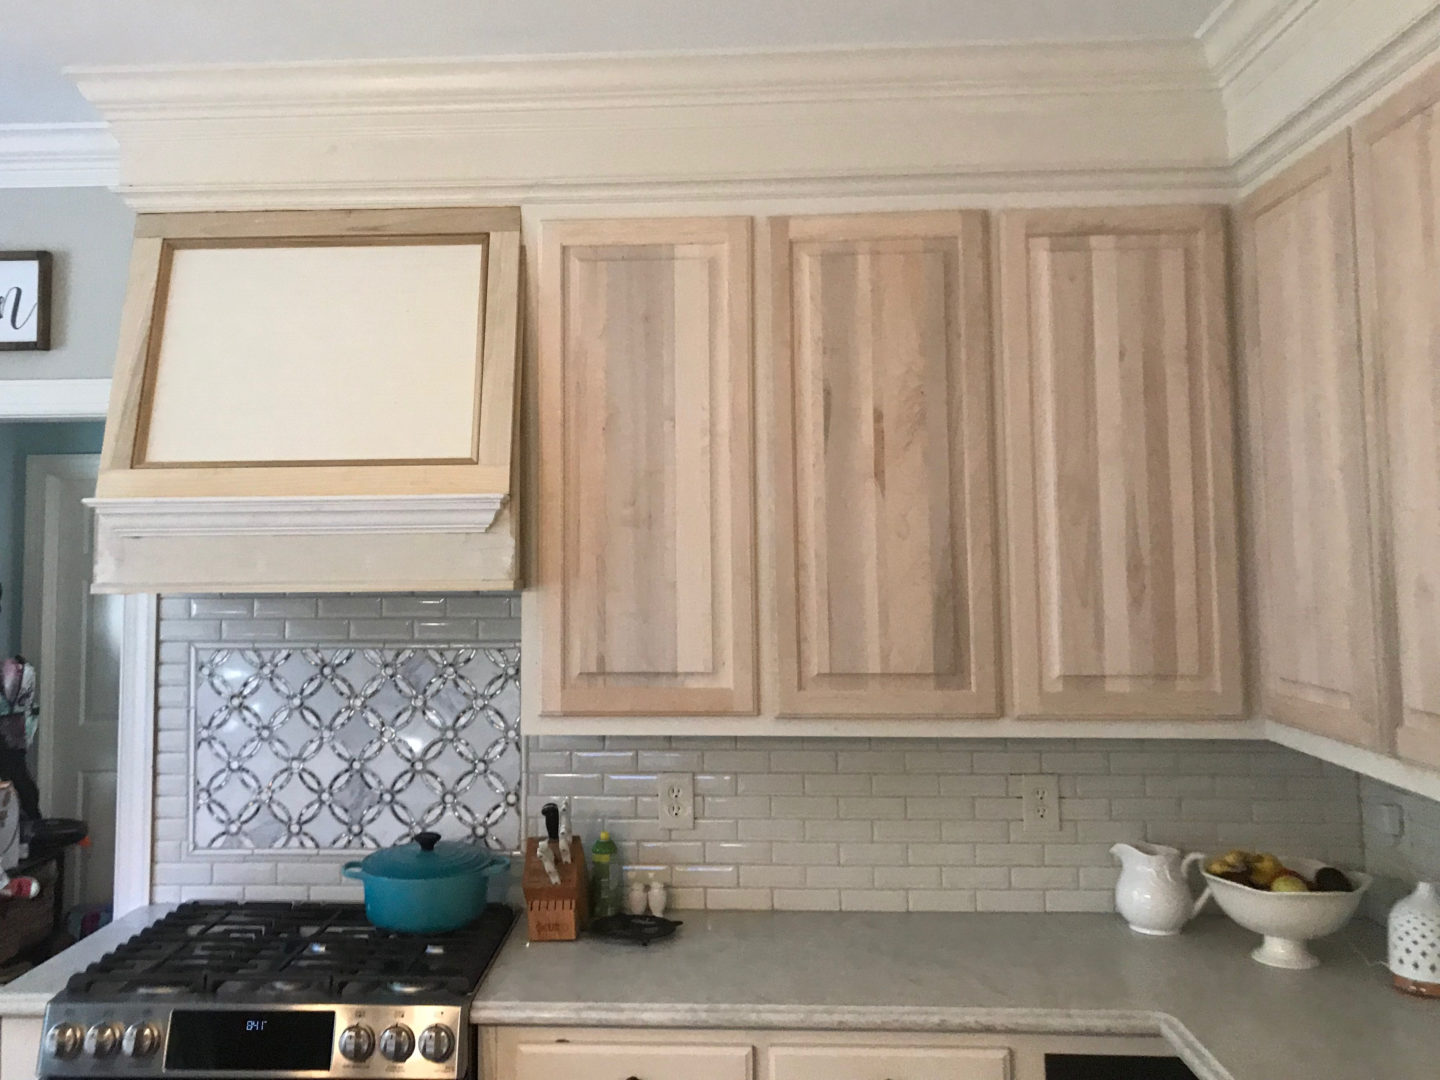
Corey and I have never been huge fans of the double raised panel door on our upper cabinets. It must have been a big thing in the nineties when our house was built because lots of houses in our neighborhood have them, especially the ones with custom built cabinets. When we made the decision to refresh our kitchen versus a full re-do, we thought we would have to live with our old doors forever and we kind of just came to terms with it since it would save us fifty thousand dollars – ha!
Then, in one of our initial meetings with our carpenter, Matt from Castleguard Services, Matt suggested that we just replace the doors on our upper cabinets. It was a genius idea for our particular kitchen because our lower doors already have the single raised panel. Its only the upper ones that have the double since they are so tall. By only replacing the upper doors, we only needed to purchase eight new doors as opposed to a whole kitchen’s worth.
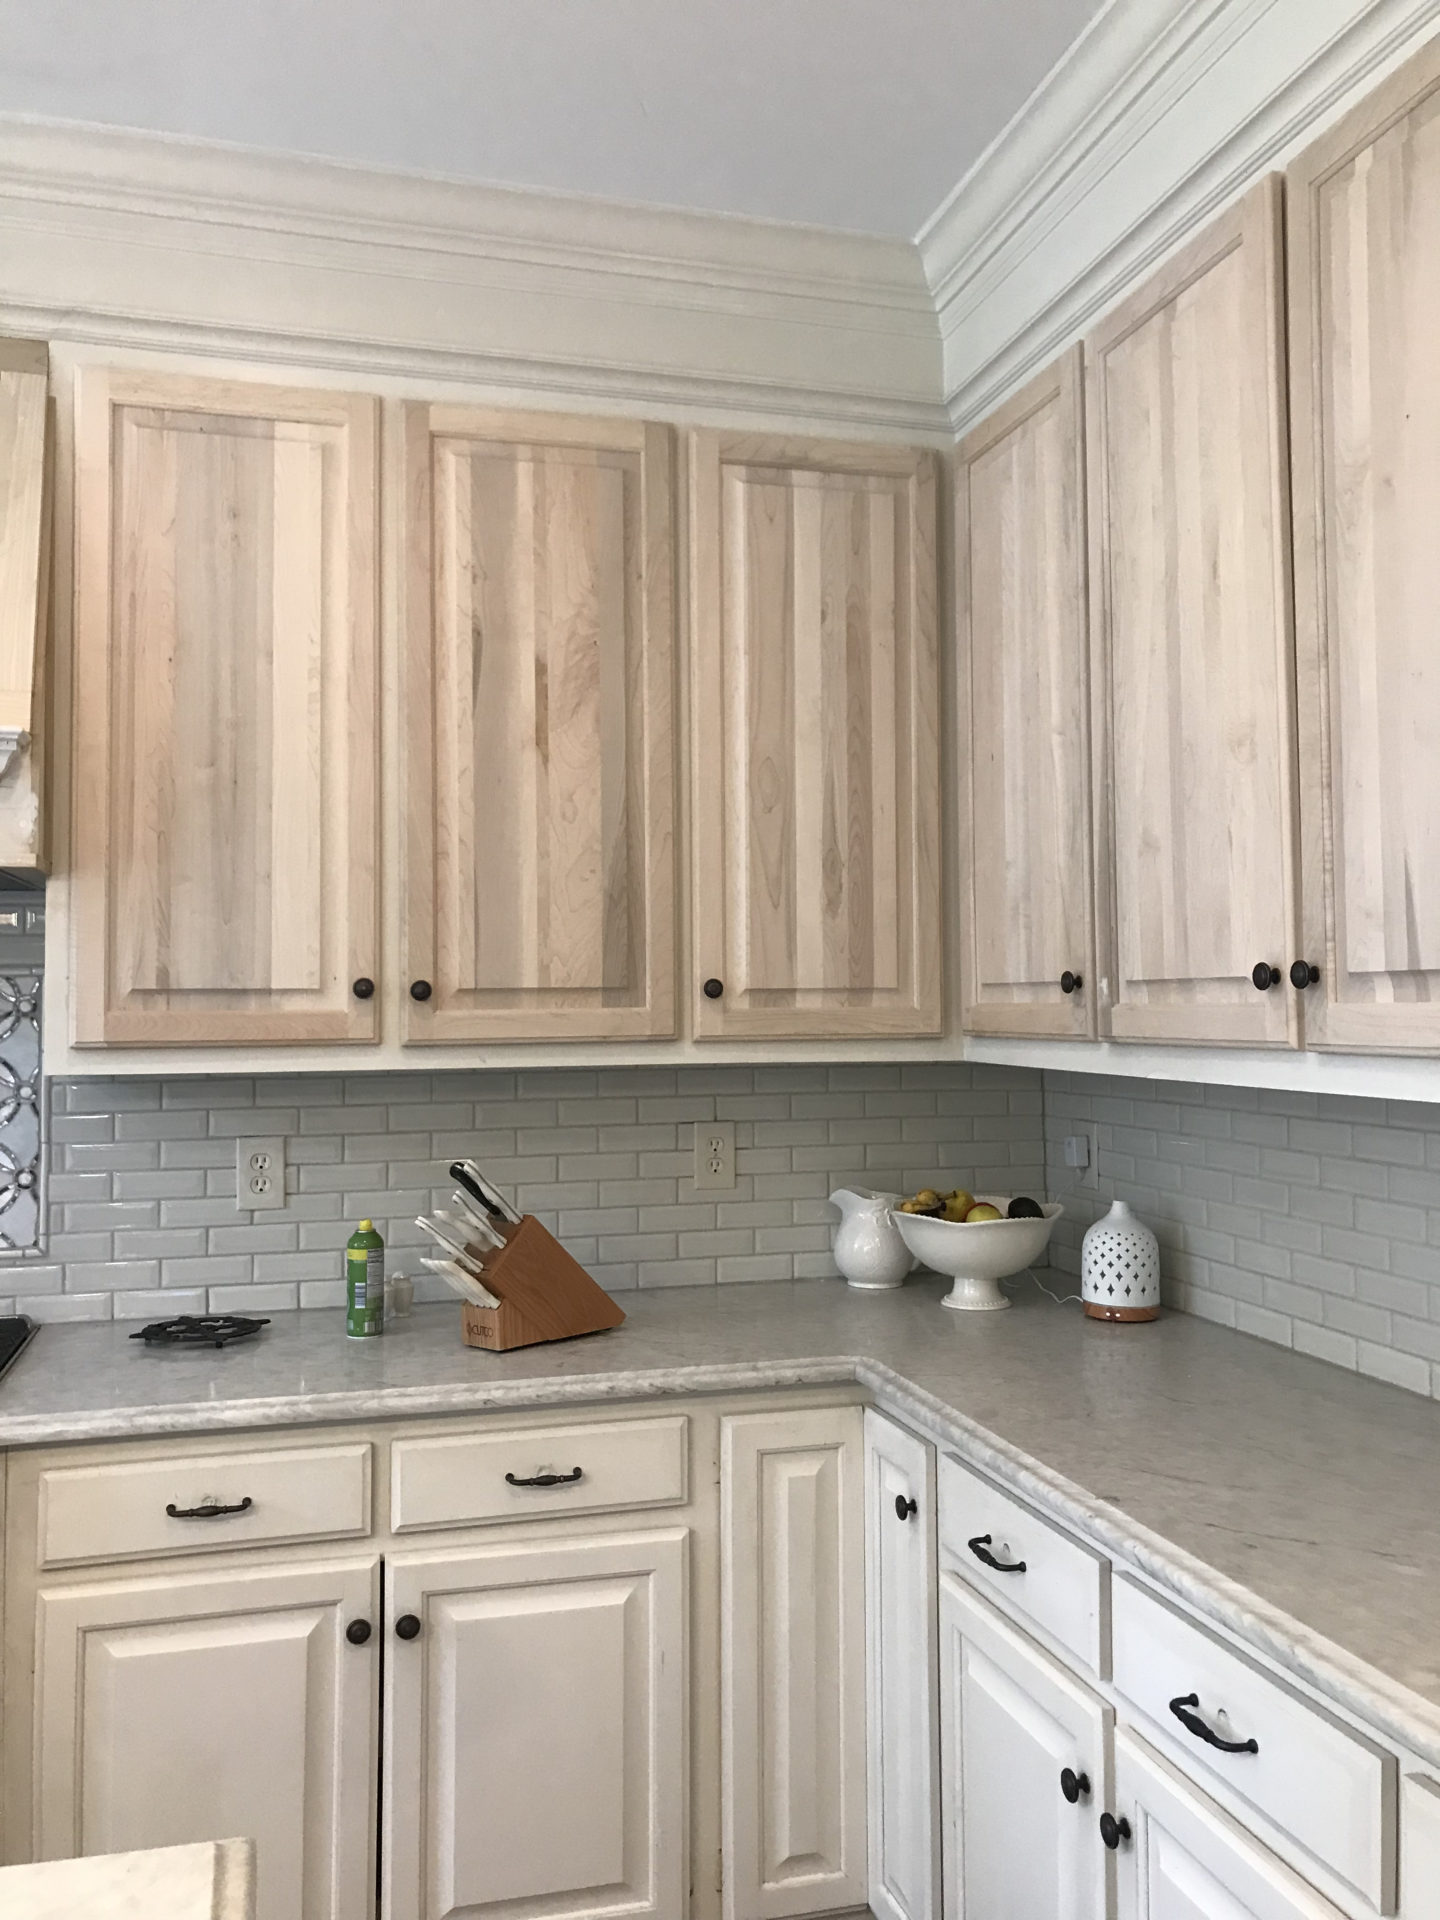
Matt custom ordered the new doors for us to match the ones we already had on the bottom – solid oak with the same specifications of the panel. Then, his team got to work removing our old outdated exterior brass hinges, filling all the holes, and installing the new soft close hidden hinges on the inside. This has made the biggest difference and I cannot even believe we entertained the idea of replacing our old cabinets for a second.
He also ordered new doors for beneath the farmhouse sink, our appliance garage, and drawerfronts for my new storage drawers underneath and finished up the raised panel insert for my range hood. Once all of this was installed, we said good bye to our wonderful carpentry team and turned the project over to the painters.
We met with several different cabinet painting companies in Charlotte and ultimately hired Cardinal Pro Painters. Everyone we worked with throughout this project has been great but I could sing the praises of this company all day long. They are truly outstanding.
I really didn’t know how much went in to cabinet painting but knew enough to hire someone who specializes in cabinetry painting as opposed to general interior painting or attempting to tackle this job myself. While painting your cabinets can be a DIY job, I knew that in our specific situation we really needed a pro for a couple of reasons. Our cabinets were previously painted. It looked like they had been sprayed but then touched up with a brush at some point. Some of the brush strokes looked sloppy and I really wanted that smooth, sprayed look.
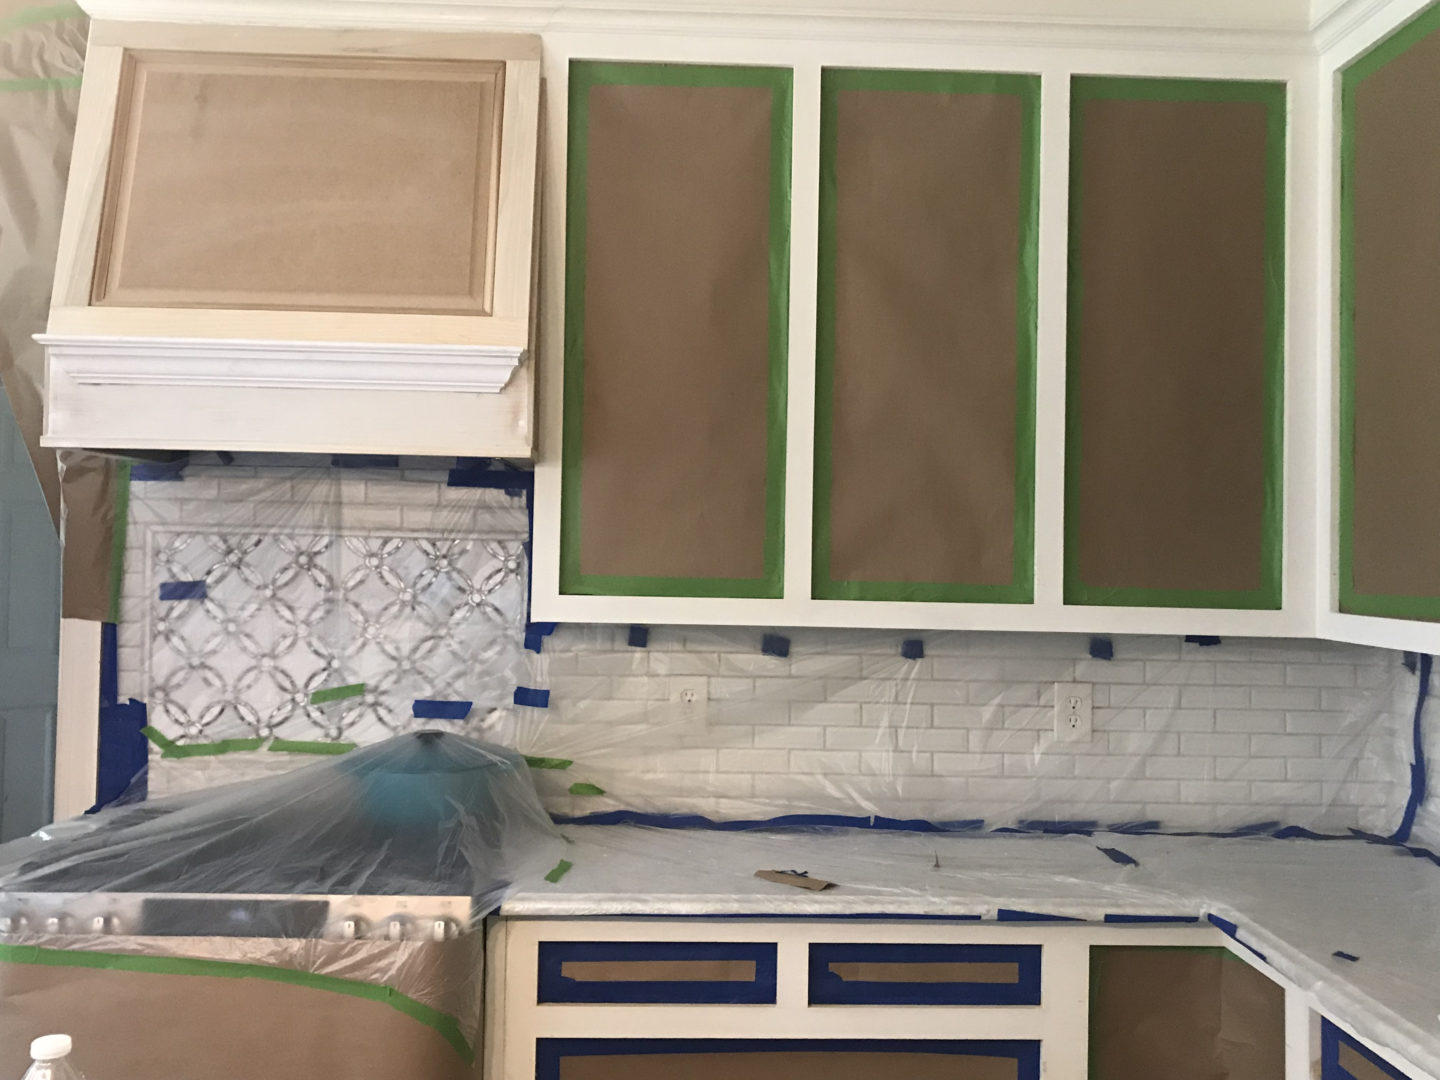
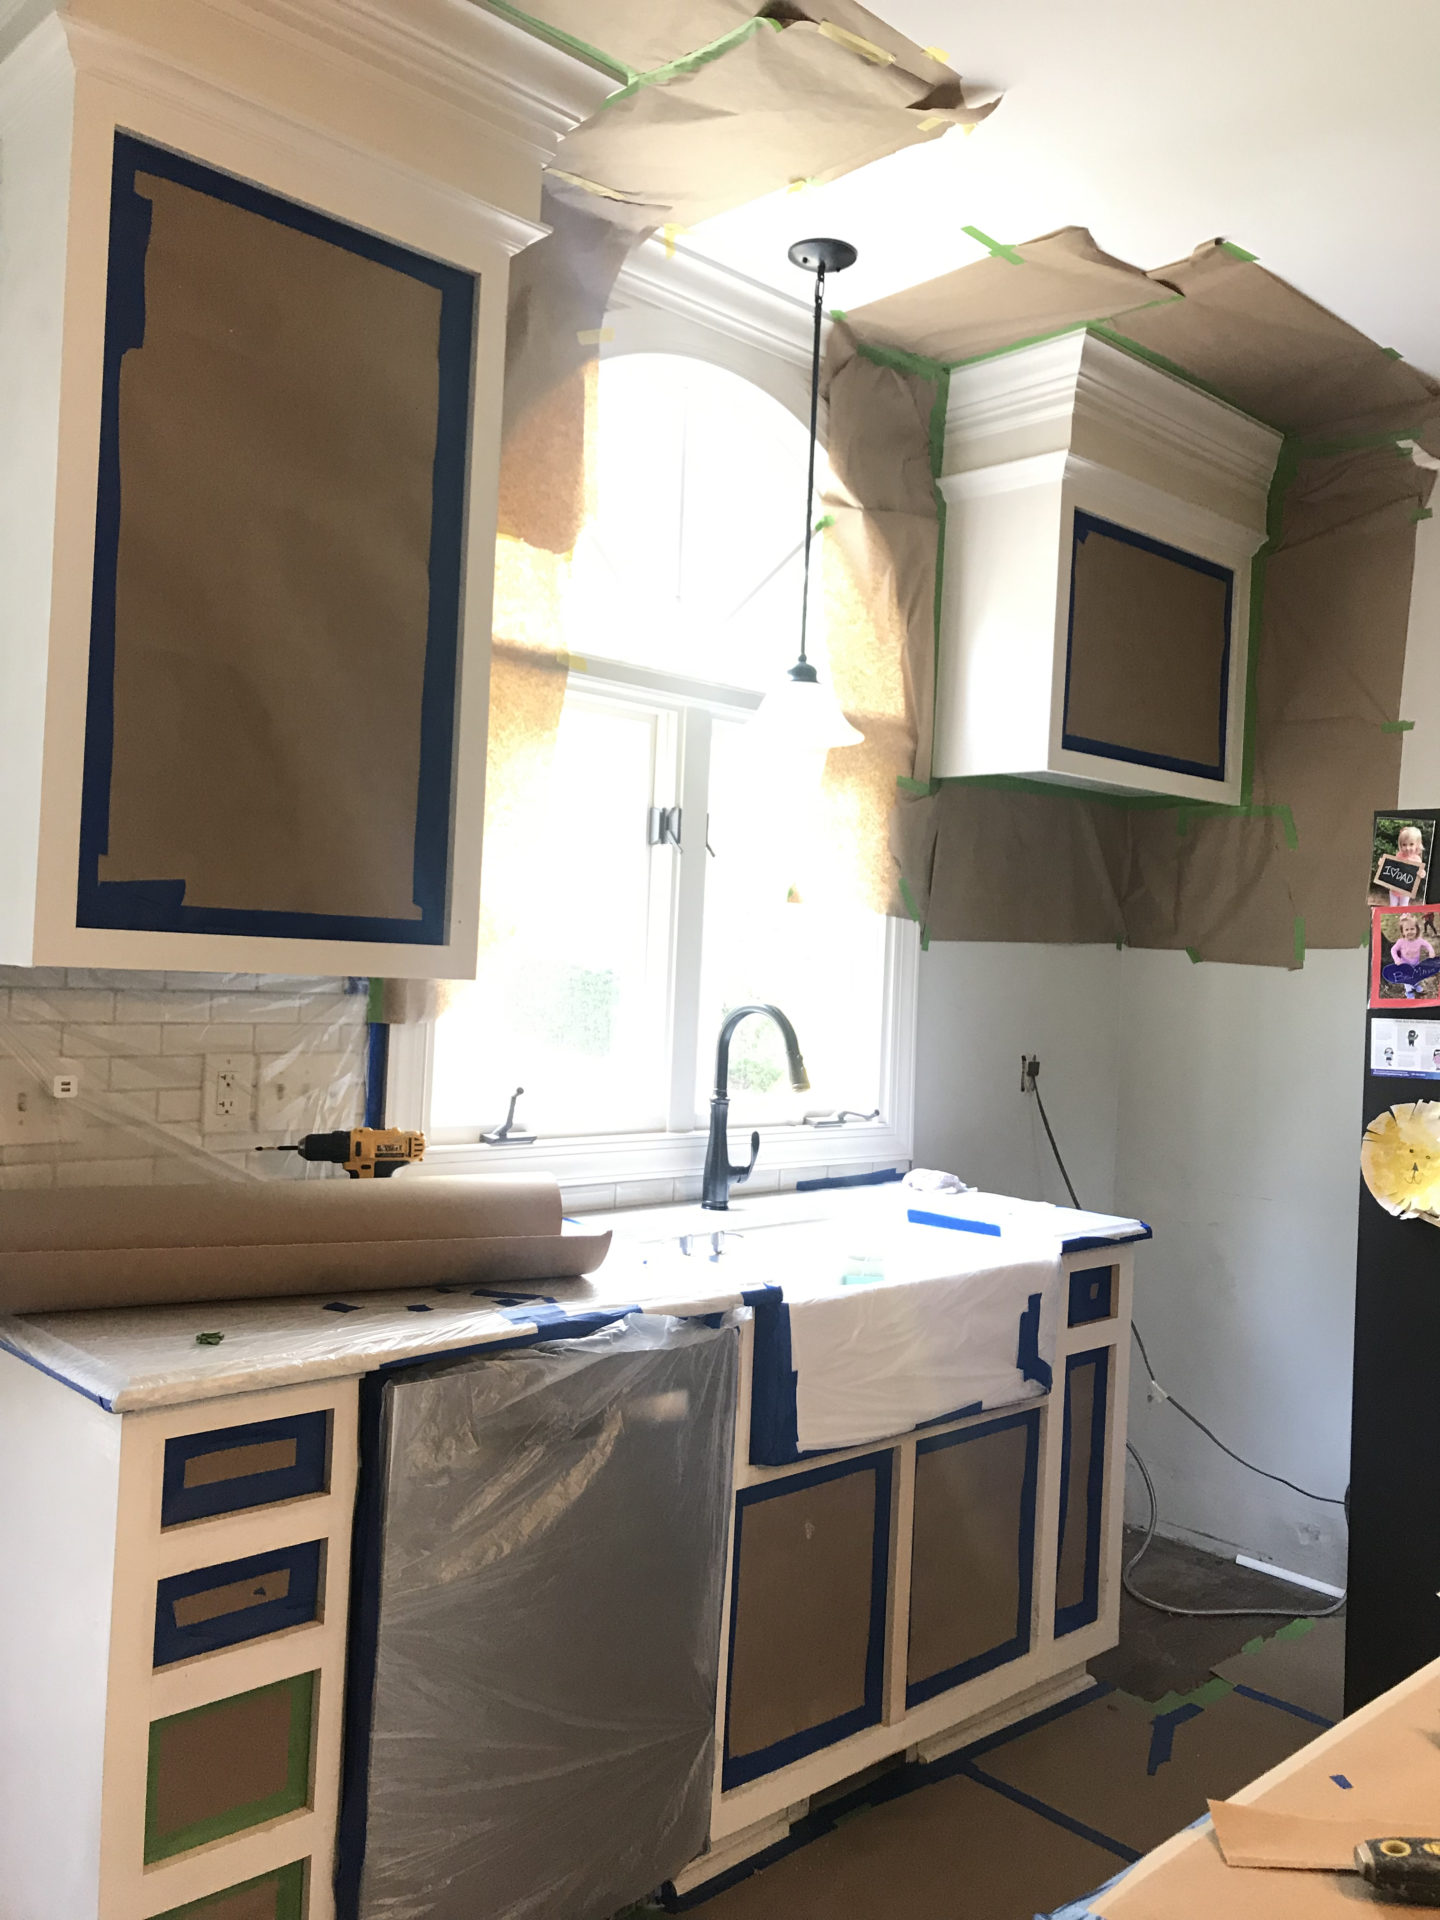
The prep work has taken days! It took an entire day just to tape up the kitchen and then another to prep the cabinet boxes to be sure everything was sanded down and ready to be primed. My doors (new and old) were sent off site to be painted.
I chose the colors White Dove for the cabinets and Chelsea Gray for our island, both by Benjamin Moore. I am so excited to see the finished island especially because it will be so different than what we had before.
We have our last coat of paint going on today and then we will need to wait a few more days for everything to cure before we put the doors back on (most likely Saturday morning) and call this project officially complete. I can’t wait to share my reveal with you next week.
If you’ve missed my previous posts about this project, you can get caught up here:
Week 1: Inspiration + Before Photos
Week 2: Demo + Cabinetry Updates
Week 4: Countertops + Backsplash

Thank you once again to the One Room Challenge and Better Homes and Gardens for having me again this season to share this project that has been on our to-do list for such a long time! I hope you will check out the other participant’s projects here and don’t forget to stop back by next Thursday morning for the reveal.


