I am not very artistic but I do love a good DIY craft. For Madeline’s nursery, I made her some decoupage wooden blocks using scrapbook paper that matched the decor of her nursery. They were really just a filler to style the shelves above her dresser and changing table but as she got older she really developed an interest in them. I told her that I made them for her when she was a baby in my belly and now she loves telling me about how Mommy made them for her before she was born. So, I knew I wanted to do some kind of craft for Baby Boy’s nursery, too.
I recently went to a friend’s birthday party at a local wine and design type studio. We used stencils to make wooden wall signs. It was such an easy craft but they all turned out so pretty. So, when Stencil Revolution contacted me about reviewing a set of their stencils, I knew this was exactly what I was looking for to add a special touch to the new nursery.
I chose four stencils – the lion, the tiger, the elephant, and the zebra in the 8.5 x 11 size. Once I made my selection, these were shipped out to me right away and arrived carefully packaged within just a couple days. Stencil Revolution even sent me an email a couple days later checking in to be sure they’d arrived and ask if I needed any help with my project.
I picked up a pack of canvases on sale at Michael’s and navy and white acrylic paint to match the theme of my nursery. I also ordered this stencil spray to be sure my stencils didn’t move around while I was painting. I feel like this is really important for projects that have a lot of detail.
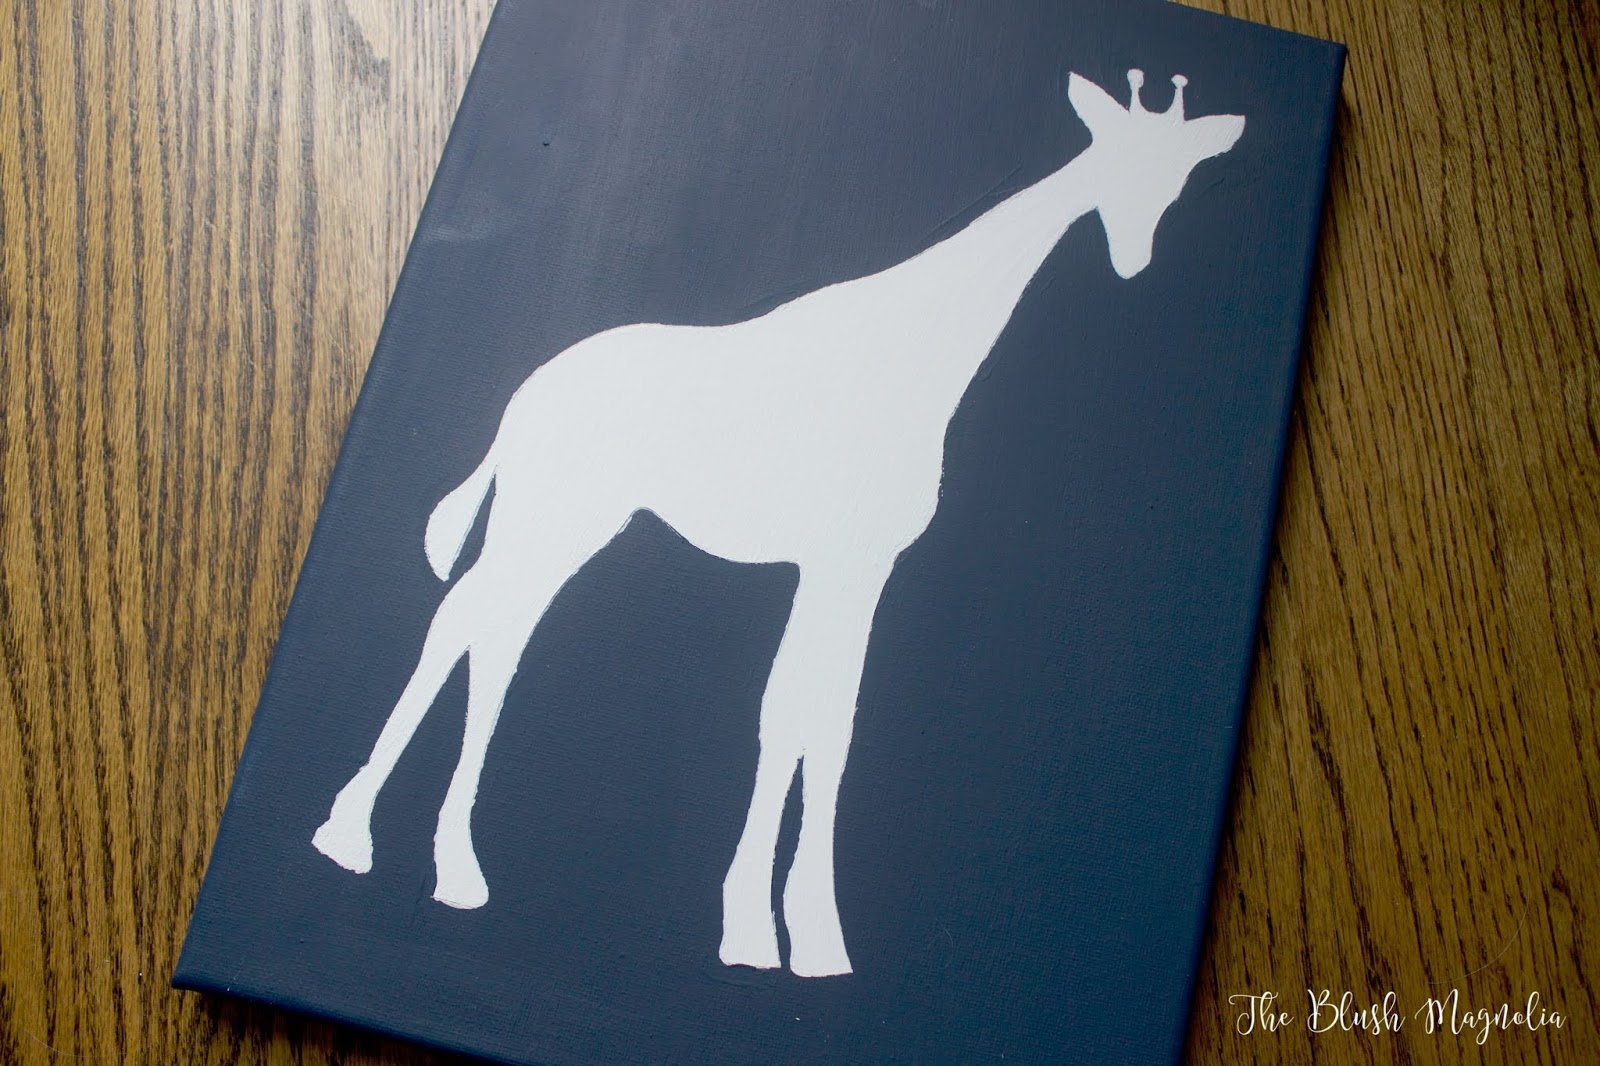
When it was time to begin my project I began by painting my canvases navy. It took a couple coats to get them well covered and I let this base dry overnight. Then, the following day during nap time I sprayed the stencil spray onto each stencil and positioned them to my liking on the canvases. Then, I used a sponge brush to apply thin coats of white paint. I kept each coat very thin and didn’t pull my stencils up until I felt I had enough coverage, especially with painting a light color over a darker one.
I let my project dry for several hours before removing the stencils. Then, I used a fine tipped paintbrush for a few little touch ups but this was hardly needed. The stencils are such great quality and were easy to wash and put away for another project in the future.
I am so pleased with how this project came out. It costs only a fraction of what I would have spent on nursery art and is so much more special since I made it. There are so many great options for stencils available from Stencil Revolution. In the future I might try my hand at making some holiday-themed art.


So cute.
These look great! So original and I love the deep (midnight) blue in the background – your little boy will be so happy you made them for him! Plus the personal touch will really bring your nursery to life – and give you something nice to gaze at from your new slider chair! Looking forward to seeing your nursery take shape over the coming weeks xx
These turned out great! I agree too, it’s so special that you made them and they have a story behind them!
These are so cute! I can't wait to re-do my daughters room and a project like this would be perfect!
Nice! What a special touch.Kristen // http://www.pugsandpearls.com