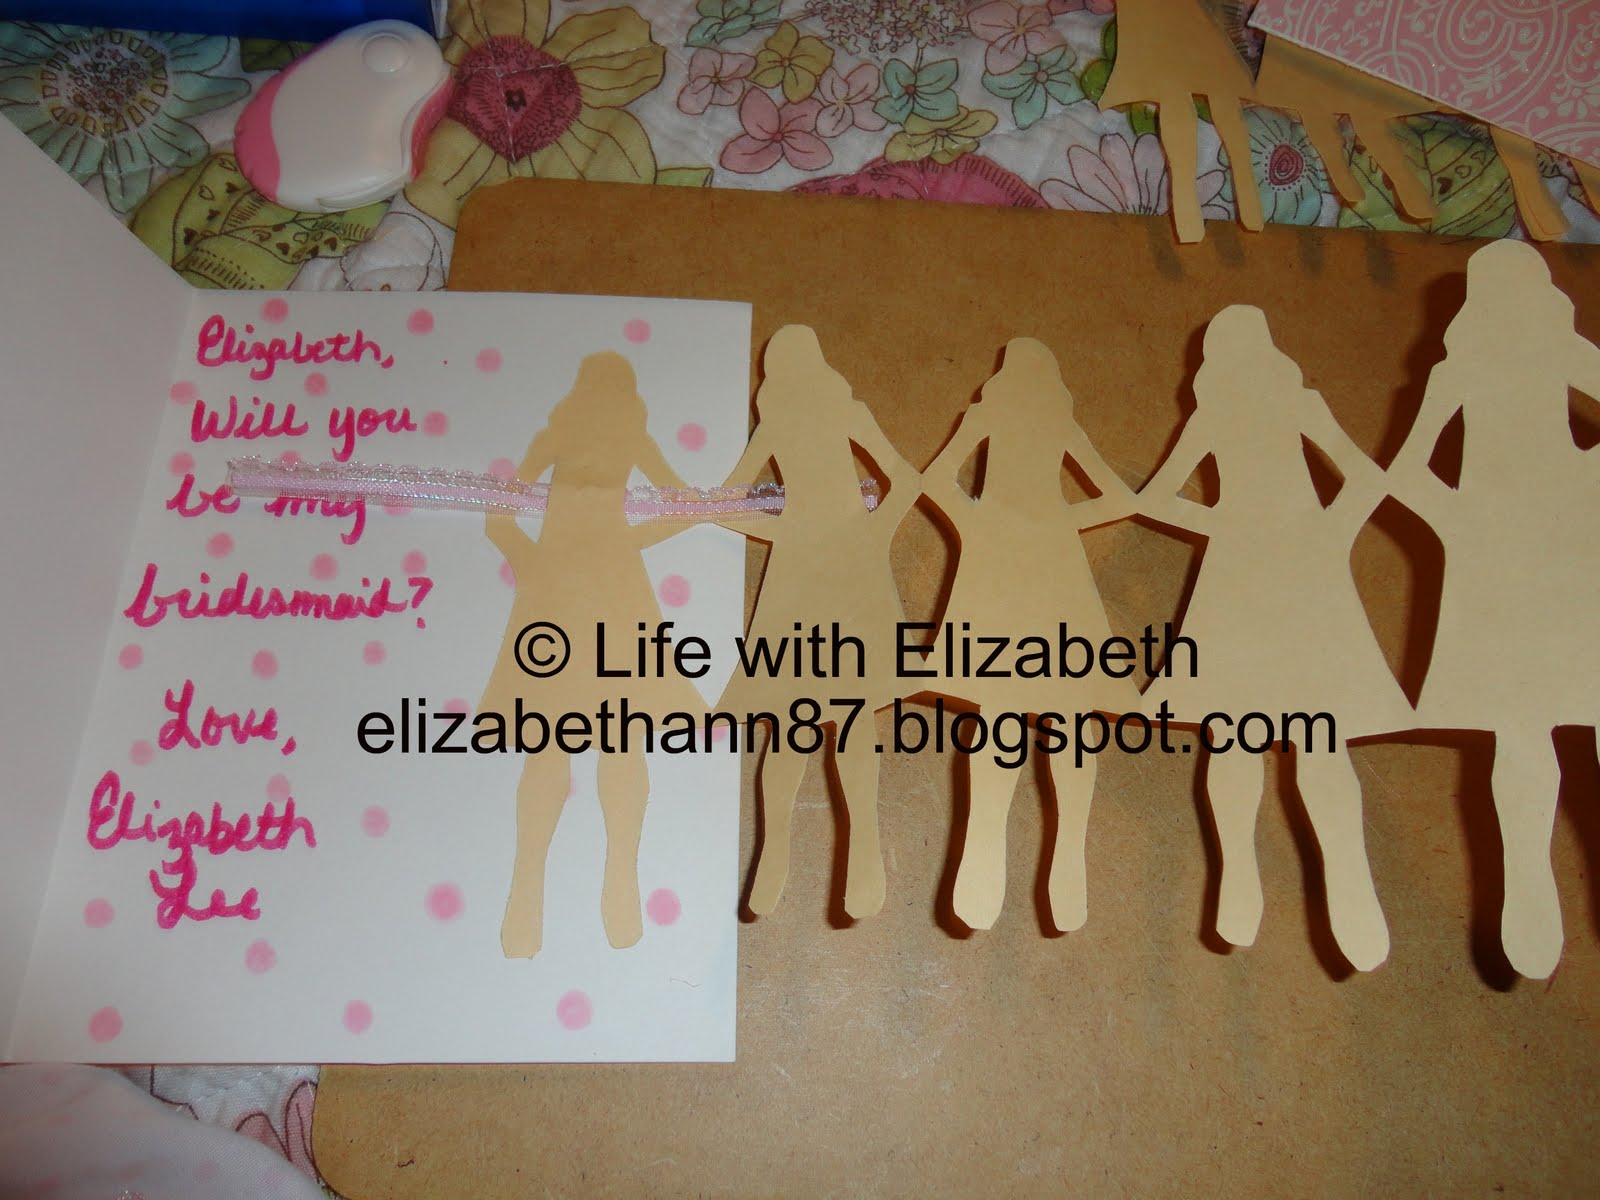
Several weeks ago, I made handmade bridesmaid invitations for all my bridesmaids. I grabbed all my materials, a clipboard, and climbed into bed at my parents’ house. I placed myself in front of the television and caught up on the Grey’s Anatomy and Private Practice episodes I had missed. The invitations came out so cute. Here’s a little how-to:
Step 1:
Make a trip to Michael’s, Hobby Lobby, or your craft supply store of choice. Buy all kinds of fun goodies in your wedding colors or that match your style. Make sure to get blank cards with envelopes, too, and some pretty scrapbook paper.
Step 2:
Line the edge of the scrapbook paper up with the blank cards. Glue the scrapbook paper down then trim the extra off to use for another card. Hint: I just covered the front to conserve expensive scrapbook paper and to help avoid extra postage if the cards got too heavy.
Step 3.
Use a ruler and pencil to draw a rectangle on the front cover. I used a rolling exacto knife to cut the rectangle out. This helped keep my lines straight – but you can use regular scissors, too.
Step 4:
Decorate the front of your card however you want. I printed off a pretty bride sketch for mine. Then, cut out and decorate the words “Me.” and “You?” in a cute way. Glue them onto the front of the card.
Step 5:
Make a pattern for your paper doll. Cutting the girls off a clothing pattern envelope would work well but I searched for fashion sketches in Google images. Then, I used the head of one sketch, the body of another, and the legs of a third! I taped the pieces together to make my pattern. Make sure the skirt and the elbows extend the same width or your paper dolls won’t work when you cut them out.
Step 6:
Choose a paper that is not too thin or too thick for the paper dolls. I used a neutral color of construction paper. Trace your doll. Its ok if this isn’t perfect – you can fix it as you cut. Eventually this side of this doll will be glued down and no one will ever see the pencil marks.
Step 7:
Carefully fold your doll. Remember, elbows and skirt should touch at the fold. Admire your gorgeous ring at every fold.
Step 8:
Cut those dolls out! This will take some time depending on how many bridesmaids you have. Make sure to use fine point scissors for cutting the insides of the arms. I did this part just two dolls at a time.
Step 9:
Place a ribbon at the waist of the back doll. Glue that doll down and slide the ribbon through her arms. Once the glue has dried, you can fold the rest of the dolls up and tie them with the ribbon, which looks like a sash!
Step 10:
Write a message to your bridesmaids! I did a generic message next to the dolls and then a personal note on the inside of the front cover.
And, you’re done! I placed the cards in envelopes and hand-delivered those that I could. For my bridesmaids that live faraway, I mailed the cards and surprised them. Luckily, everyone said yes!


What a cute way to ask!